When building my first layout in Sydney, I must have been one of those rare people who ran in front of themselves in regard to buying up as many items as possible, if for no other reason than the enthusiasm of it, & the desire to complete the layout. I had a concept of what I wanted to do, but not much else, the layout basically developed out of some scratchy drawings, with each step, an add on without a lot of real planing. As I had money I would buy R/S kits to add to those old items from years past, in reality it was very hotch potch, but as the layout developed so did my thinking of what & where it was heading.
I am also thankful that during those earlier days of layout building Ray Pilgrim came to a group meeting at our home where he gave a demonstration & tips on scenery which was really a great introduction into an area that I was primarilly stumbling through & without any real direction. That demonstration was pretty well the first time I had experienced anything akin to what may be deemed a clinic & helped me in the learning process, but I realised early on that I had a lot to learn.
Seeing some items on special I thought may be useful was often hap hazard & without a lot of thought, especially if they looked as if they could be usefull. A couple of items I purchased back then was a large bag from Scenic Express of tree building items, called Super Trees, & to be honest I never got the knack of making the trees in a succesfull manner & there was nothing super about them to me. I obtained was a similar item but this time already made up, & they looked ok & sort of similar to the super trees. On moving I really considered throwing them all out but as it has turned out, I am glad I didn't.
As my primary goal is to finish individual areas in sequence & with starting at Coxes Crossing, I realised that I had put a lot of time in making more gum like trees than anything else & had put out of my mind that in any area in NSW, gum type trees were not the only types of trees to be seen & there was a need for more types of trees & foliage, to enhance the forested areas of the bush. with that, I found the bag of super trees, & started going through them, after some 4 years sqashed in a bag they looked a bit worse for wear & very much squashed together, but as I progressivelly divided them out, I found some good armatures left as well as a couple of willow trees, & some remnants of the made up on items, but gee there was not much of them left as they started to fall to pieces..
So with all of this sort of new material available the task now is to try & see if I can be more succesfull in how to make trees from them. Much of the sage is broken but I hope to salvage as much as I can if for nothing else to be filling type of underbrush around the hilled areas thus some experimenting with some areas of tree & foliage making is now on the agenda.
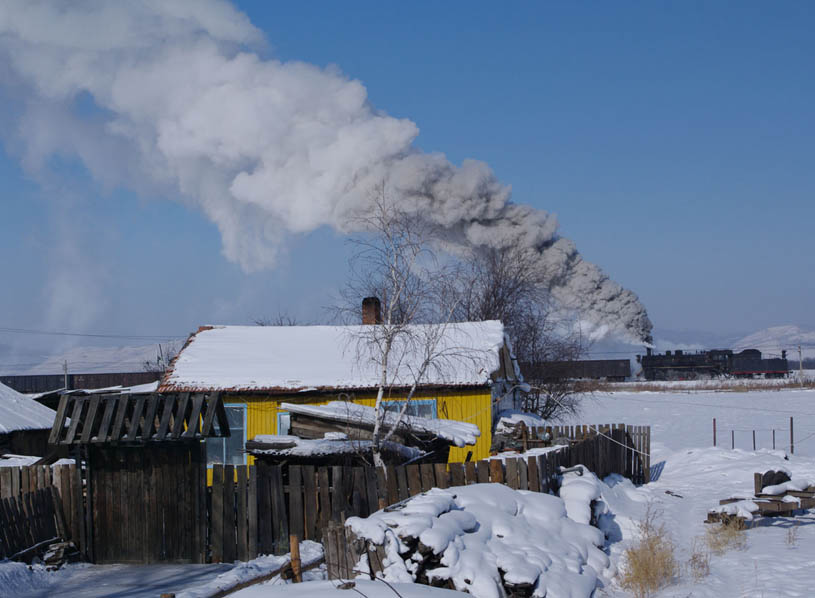
The following photos represents the changes that are taking place in the area of scenery at Coxes crossing. Whilst they are pretty similar to the old photo's except the changes, they are taken with a new camera purchased for my wife after her old died. Previously the cameras I have used I have found them really unsuitable for this sort of photography, owing to the terrible lighting in the room, I have used 2 digital SLR's one a high end product, which does not show out this cameras real abilities in the semi pro area, I have also used a miniDV cam for stills but while the focusing is a bit better again the wider photo's in the posts also do not show the true colours.
The latest camera is a discontinued Canon Power Shot SX 230 which I picked up for half its retail price of $185.00 as against the original price of $349.00, I am very impressed with this camera & the colours are much truer & needs little or no adjusting as the others did.


The above are the before & after showing the up end & stock yards, with an trees basically now finished

The tree in the middle is a make up from the super trees branches that so easily fall off, I used some florists green tape to secure several of the branches together, sprayed with glue & addes some fine leaf material to it, I actually like this method & certainly provides a much better finish than using a PVA or Matte Medium mix to them, owing to the spray glue not just holding the leaf material on the branches better but it also helps with securing any loose branches as well. I will be trying this with other flocks to see how they go, & I have a lot of the branches to do, thus I will not need much more money outlay either.

Finally, looking towards the down end, with goods shed building on site with platform to be put in place.


